
Gingerbread House
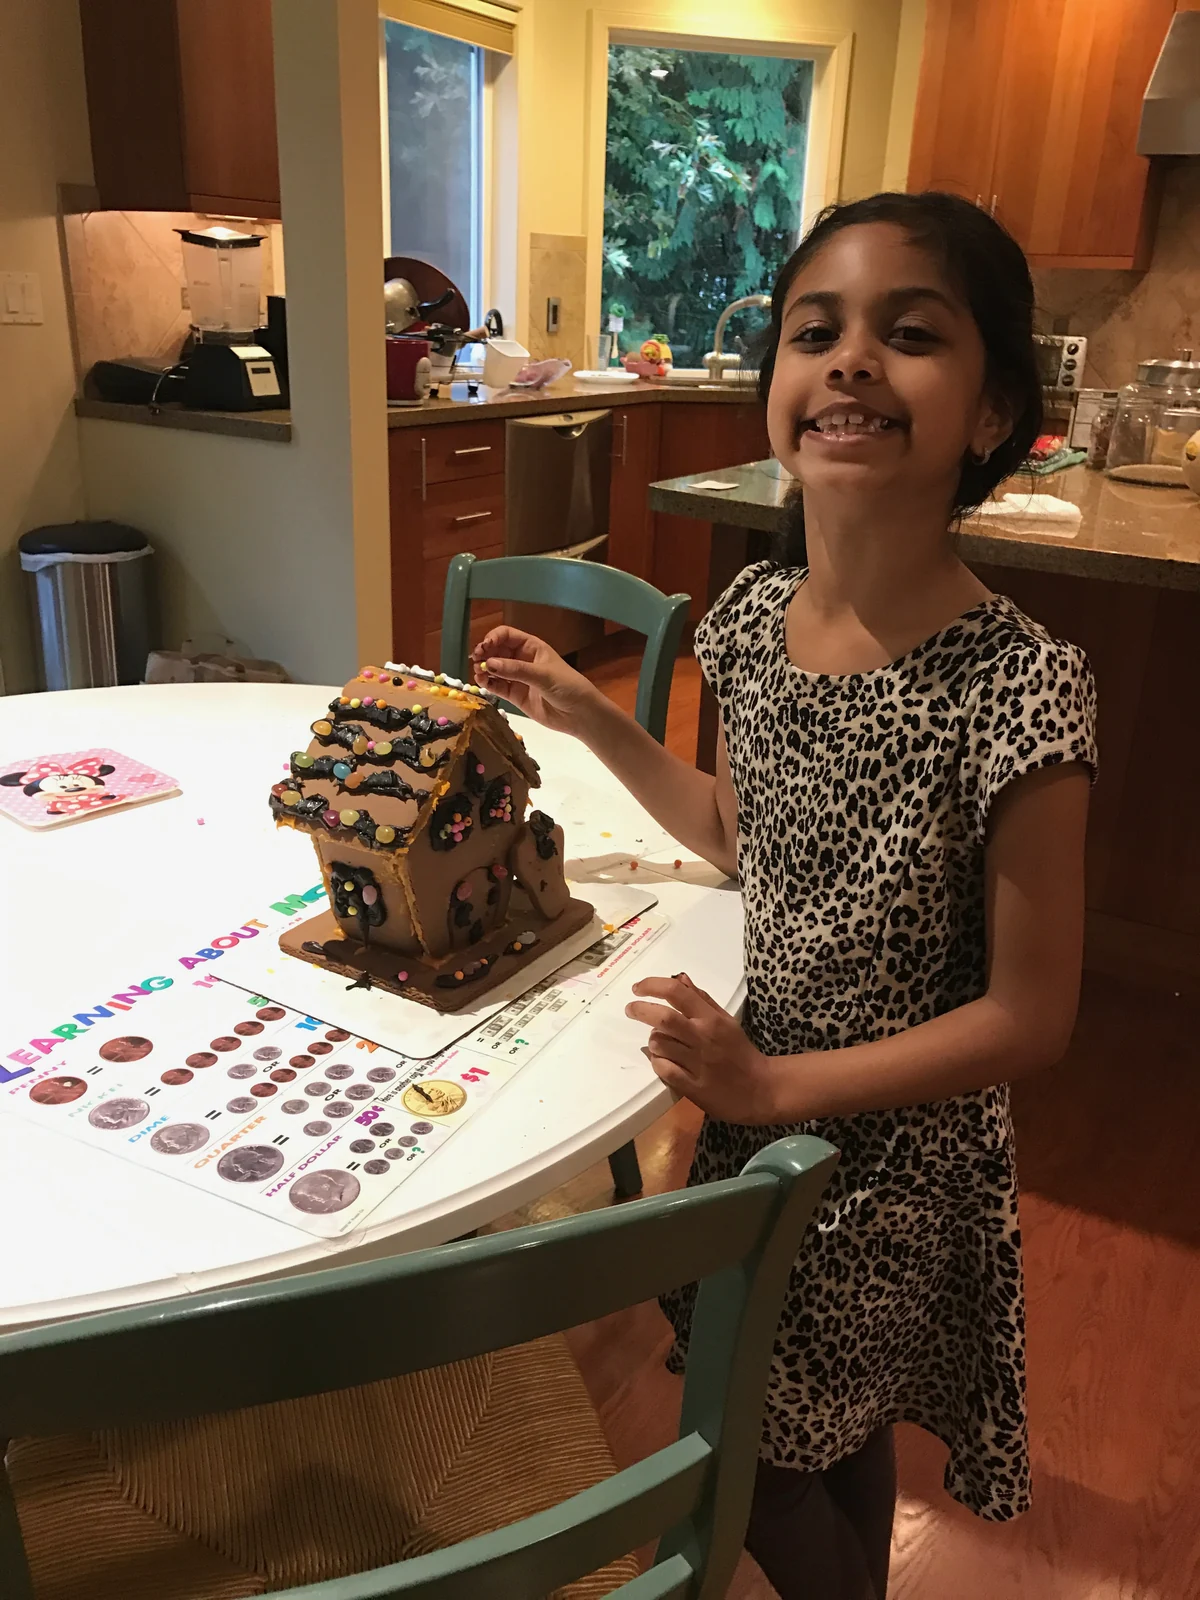
A small gingerbread cottage with sturdy cookie walls, snowy royal icing and a candy roof that invites creative chaos.
Let’s make something lovely.
A gingerbread house is part baking, part building, and part deciding which candy belongs on the roof. The childhood photos capture that last part especially well.
This version makes a small cottage from scratch. Bake the panels ahead, give the icing time to set, and decorate in easy stages. A crooked chimney is optional; patience at the corners is very helpful.
Gingerbread House
What you’ll need
Gingerbread panels
Royal icing and decorations
Let’s do this
- 1
Make a simple paper pattern
Draw two identical end walls: each is 4 inches (10 cm) wide, with vertical sides 3 inches (7.5 cm) high and a centered roof peak reaching 6 inches (15 cm) high. Draw two side walls 6 × 3 inches (15 × 7.5 cm), and two roof panels 6½ × 4 inches (16.5 × 10 cm). Cut out the six paper pieces. Keep the walls solid; pipe doors and windows later.
- 2
Mix and chill
Whisk the flour, spices, salt and baking soda. Beat the butter and brown sugar until combined, then mix in the molasses and egg. Stir in the dry ingredients until a firm dough forms, adding water a teaspoon at a time only if it will not come together. Divide in half, flatten, wrap and refrigerate for 90 minutes.
- 3
Cut the panels
Heat the oven to 350°F (175°C). Roll the cold dough between lightly floured parchment sheets to an even ¼ inch (6 mm). Lay the templates on top, cut around them and remove the scraps. Transfer the parchment with its panels onto two baking sheets; reroll scraps for any remaining panels and small decorating cookies. Leave at least 1 inch (2.5 cm) between pieces.
- 4
Bake and straighten
Bake one tray at a time for 16–20 minutes, until the edges are a shade darker and the centers feel firm. While a panel is still warm, set its clean paper template on top and carefully trim any spread with a small knife. Keep hands away from the hot tray. Cool all panels flat for at least 60 minutes; they must be completely cold and rigid.
- 5
Prepare the edible glue
With clean, grease-free equipment, beat the powdered sugar, meringue powder and water according to the powder label, generally 7–10 minutes on low speed. The icing should hold a firm peak. Add a few drops of water only if too stiff to pipe. Keep the bowl covered and use a piping bag with a small round opening.
- 6
Build the walls
Pipe a thick line of icing where each wall will touch the board and along the joining edges. Stand the two end walls with the side walls between them to form the rectangle. Hold briefly, then support with clean cans placed outside the house. Pipe icing inside the corners. Let the walls set for at least 60 minutes before touching the roof.
- 7
Add the roof
Pipe icing along both sloping gables and the tops of the side walls. Set one roof panel on each side, with a little overhang at the ends. Hold until stable, support if needed, and pipe a line along the roof ridge. Allow another 60 minutes to set.
- 8
Decorate, then leave it alone
Use remaining icing to attach candies, pipe snowy borders and draw doors and windows. Tint small portions if you like. Let the decorated house set for at least 60 minutes before carefully moving its board; overnight gives a firmer structure. The timing includes the minimum setting stages. Never use craft glue on a house that may be eaten.
Wheat, Milk, Eggs, Candy allergens vary; check labels. Check every ingredient and substitute for your own needs.
Before the happy first bite.
Decorate intricate windows on the flat panels before assembly if that feels easier, then let the icing harden first.
Buttercream stays soft and is not a reliable substitute for royal icing at structural joints.
Use small candies on the roof so their weight does not pull the panels apart.
The cookies are intentionally firm enough to build with. Break into small pieces to eat rather than trying to bite through a whole wall.
Keep the house in a cool, dry place, loosely covered to protect it from dust. If you plan to eat it, enjoy within 3 days of assembly. A house left on display for an extended period should be treated as decoration. Freeze uniced baked panels, airtight, for up to 1 month.
A few kitchen questions.
From my kitchen.
Keep the good food going.
All recipes ↗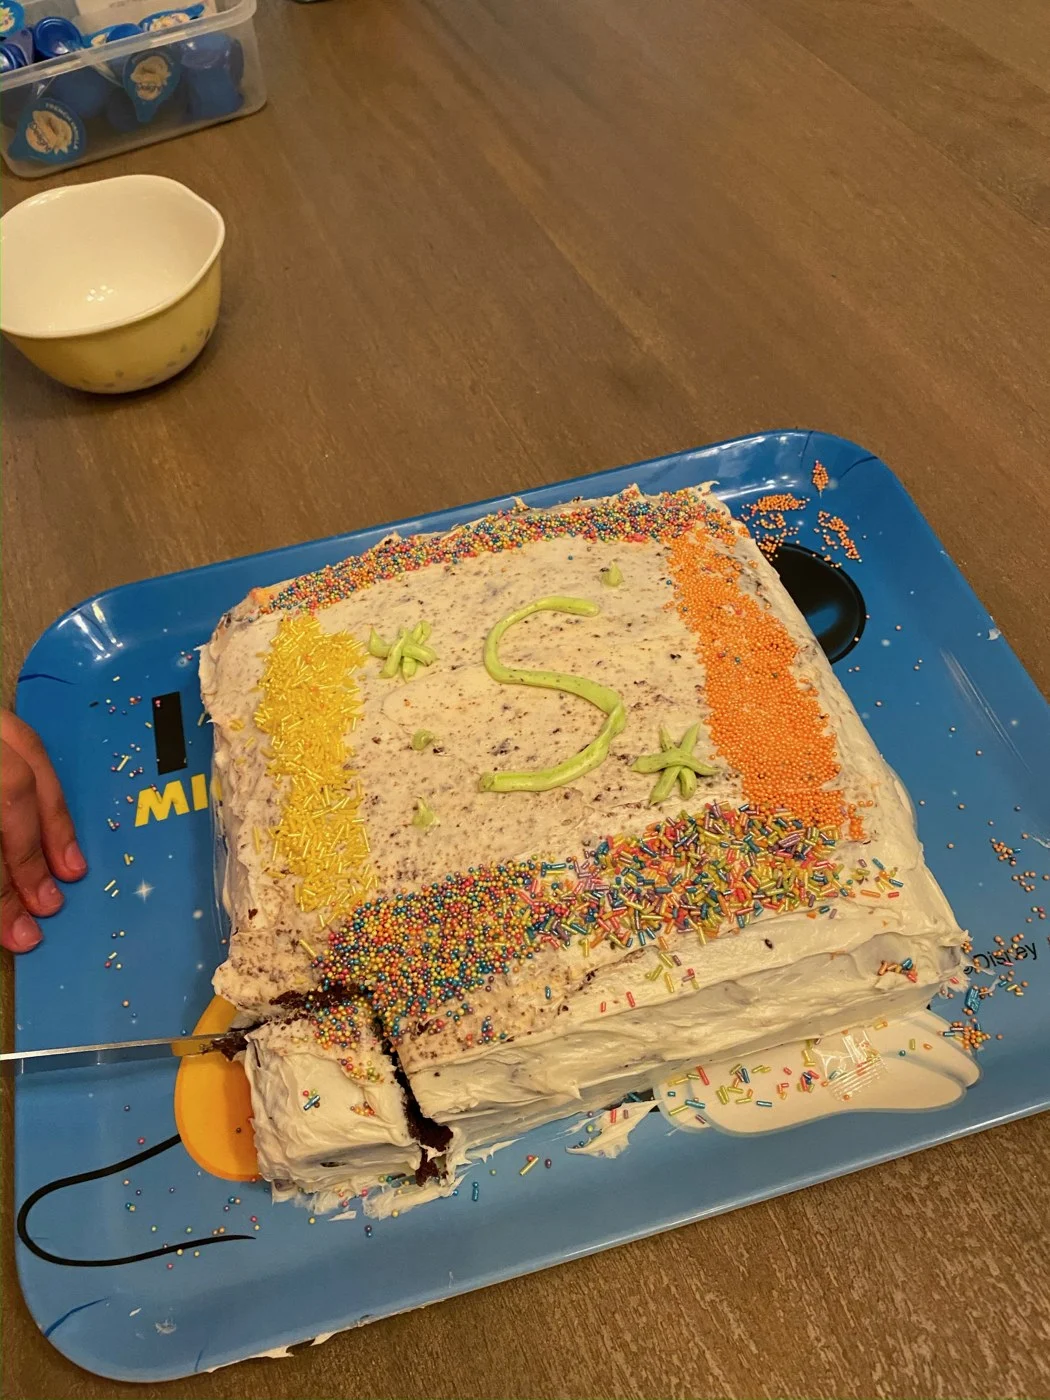 2 hr 55 min
Celebration Sprinkle Sheet Cake
A buttery chocolate sheet cake gets a vanilla frosting blanket and a bright sprinkle border.
Make this recipe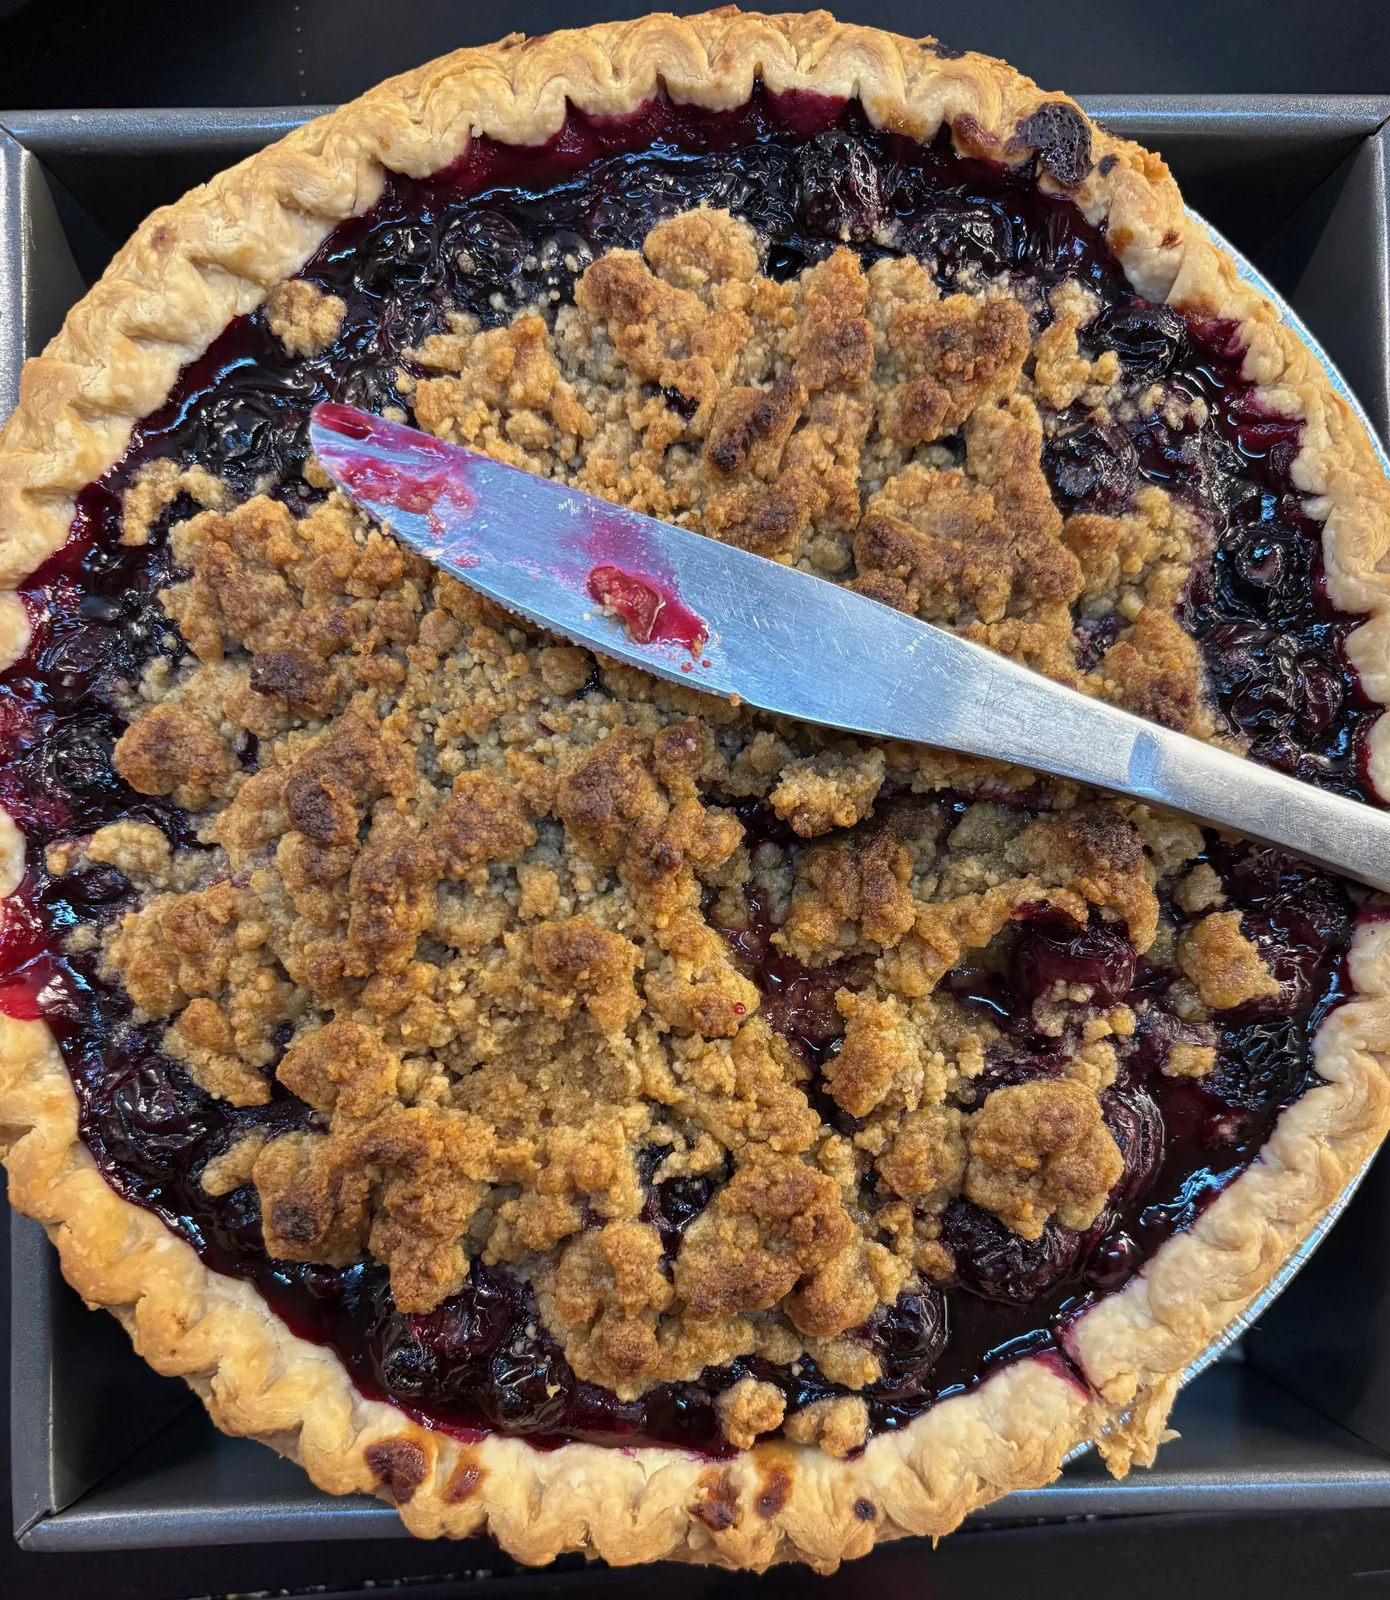 6 hr 15 min
Cherry Crumble Pie
Juicy dark cherries tuck into a buttery crust beneath golden crumble clusters. Allow time for the filling to cool into sliceable pie.
Make this recipe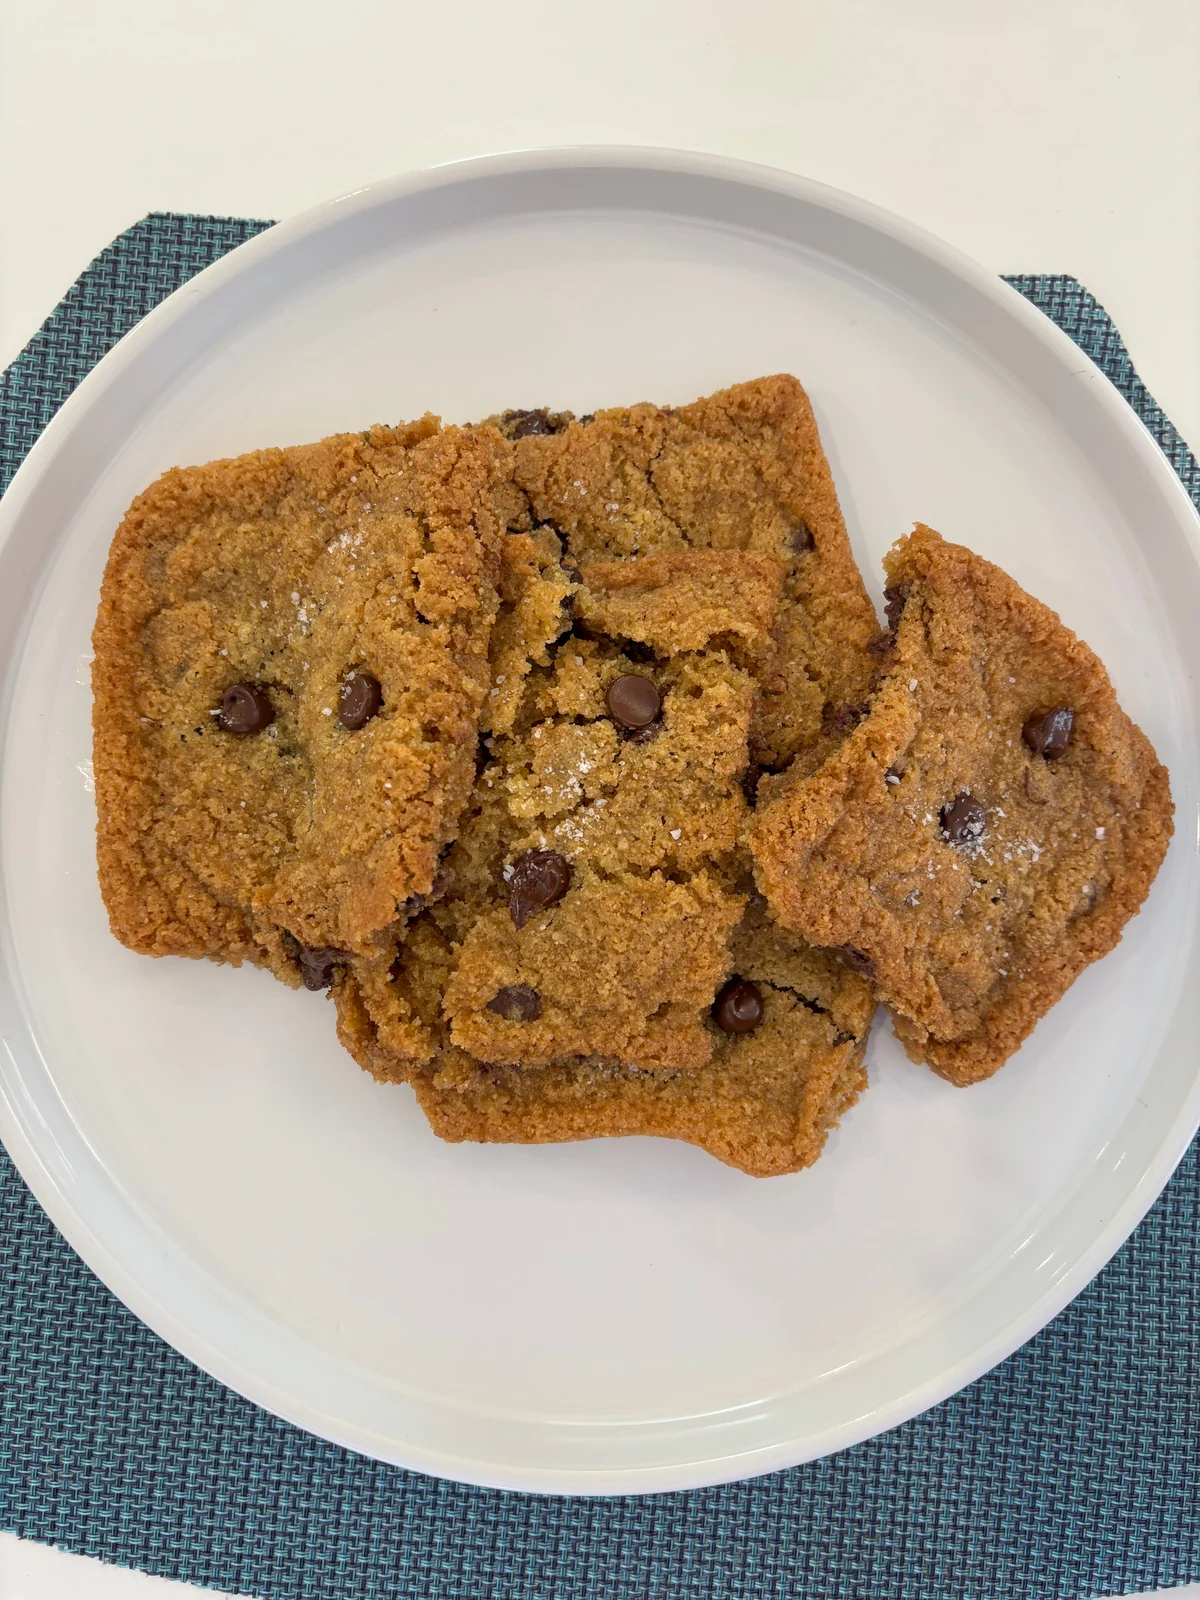 1 hr 35 min
Thin Chocolate Chip Cookie Bars
A shallow sheet of chocolate-chip cookie dough bakes into golden, crisp-edged pieces. One pan, plenty of shareable corners.
Make this recipe