
Cherry Crumble Pie
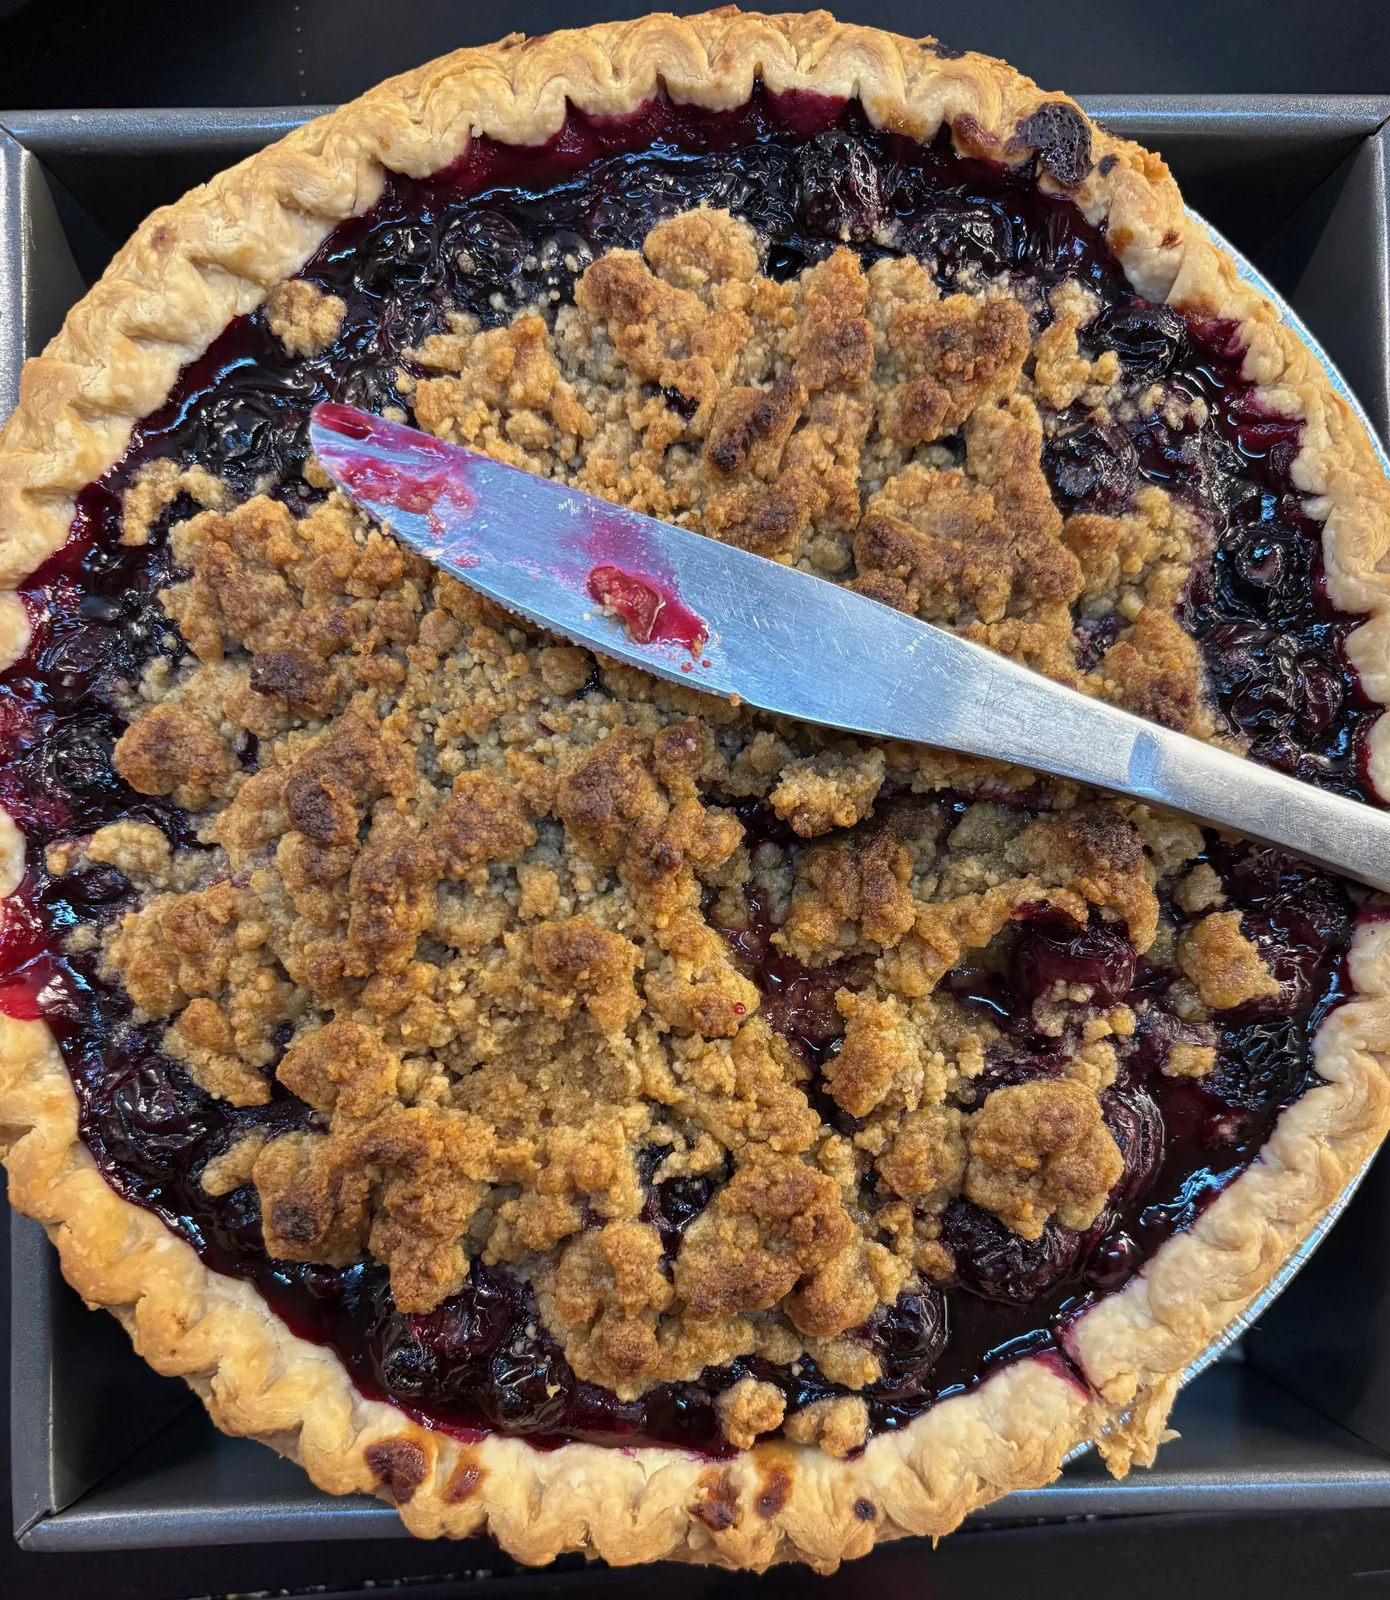
Juicy dark cherries tuck into a buttery crust beneath golden crumble clusters. Allow time for the filling to cool into sliceable pie.
Let’s make something lovely.
A pie with a generous crumble top gives you the best little contrast: jammy fruit underneath and crisp, buttery bits above. The dark fruit in the photos inspired this sweet-cherry version.
Cooking the fruit briefly first helps you see the filling thicken before it goes into the oven. Then comes the hardest instruction: leave the baked pie alone long enough for a tidy slice. A spoon is the backup plan.
Cherry Crumble Pie
What you’ll need
Crust
Cherry filling
Crumble
Let’s do this
- 1
Make and chill the pastry
Whisk the flour and salt, then rub or cut in the cold butter until some pea-sized pieces remain. Toss in 3 tablespoons ice water, adding the last tablespoon a teaspoon at a time only until the dough holds together when squeezed. Press into a disk, wrap and refrigerate for 30 minutes.
- 2
Thicken the fruit
Check every cherry for pits. Stir the sugar and cornstarch in a large saucepan, then add the cherries, lemon juice and salt. Add 2 tablespoons water if using fresh cherries; frozen cherries need no extra water. Warm over medium-low heat, stirring, until juices release. Bring to a bubbling simmer and cook for 1–2 minutes until glossy and thick, about 8–10 minutes altogether, or a little longer from frozen. Remove from the heat and stir in the vanilla. Spread in a shallow heatproof dish to cool for about 20 minutes while preparing the crust.
- 3
Shape the crust
Place a heavy metal baking sheet on the lower oven rack and heat the oven to 425°F (220°C). Roll the pastry on a lightly floured counter to a 12-inch (30 cm) circle. Fit into a 9-inch metal pie plate without stretching, trim to a 1-inch overhang, fold the edge under and crimp. Refrigerate while mixing the crumble.
- 4
Mix the topping
Combine the crumble flour, brown sugar, cinnamon and salt. Stir in the melted butter until clumps form. Spoon the cooled cherry filling into the pastry and scatter the crumble over it, leaving a little fruit visible between the clusters.
- 5
Bake until bubbling
Set the pie on the hot baking sheet. Bake for 15 minutes, then lower the oven to 375°F (190°C) and bake for 40–45 minutes more, until the crust is golden and the filling bubbles in several places, including near the center. Shield the rim loosely with foil if it colors too quickly.
- 6
Let the filling settle
Transfer to a rack and cool for at least 4 hours before slicing. This cooling time is included in the recipe timing; a warm slice will have a looser filling.
Wheat, Milk. Check every ingredient and substitute for your own needs.
Before the happy first bite.
Use sweet cherries for these quantities. Sour cherries need a different sugar balance.
Do not skip the bubbling check. A browned topping alone does not prove the whole pie is ready.
A metal pie plate on a hot baking sheet helps the bottom crust bake. Avoid setting a refrigerator-cold glass dish directly onto a hot sheet.
If the filling is still very hot after its brief cooling, let it cool longer before filling the pastry.
Keep the cooled pie loosely covered at cool room temperature for up to 2 days, then refrigerate; use within 4 days of baking. Refrigerate sooner in a warm kitchen. Freeze wrapped slices for up to 2 months and thaw in the refrigerator.
A few kitchen questions.
From my kitchen.
Keep the good food going.
All recipes ↗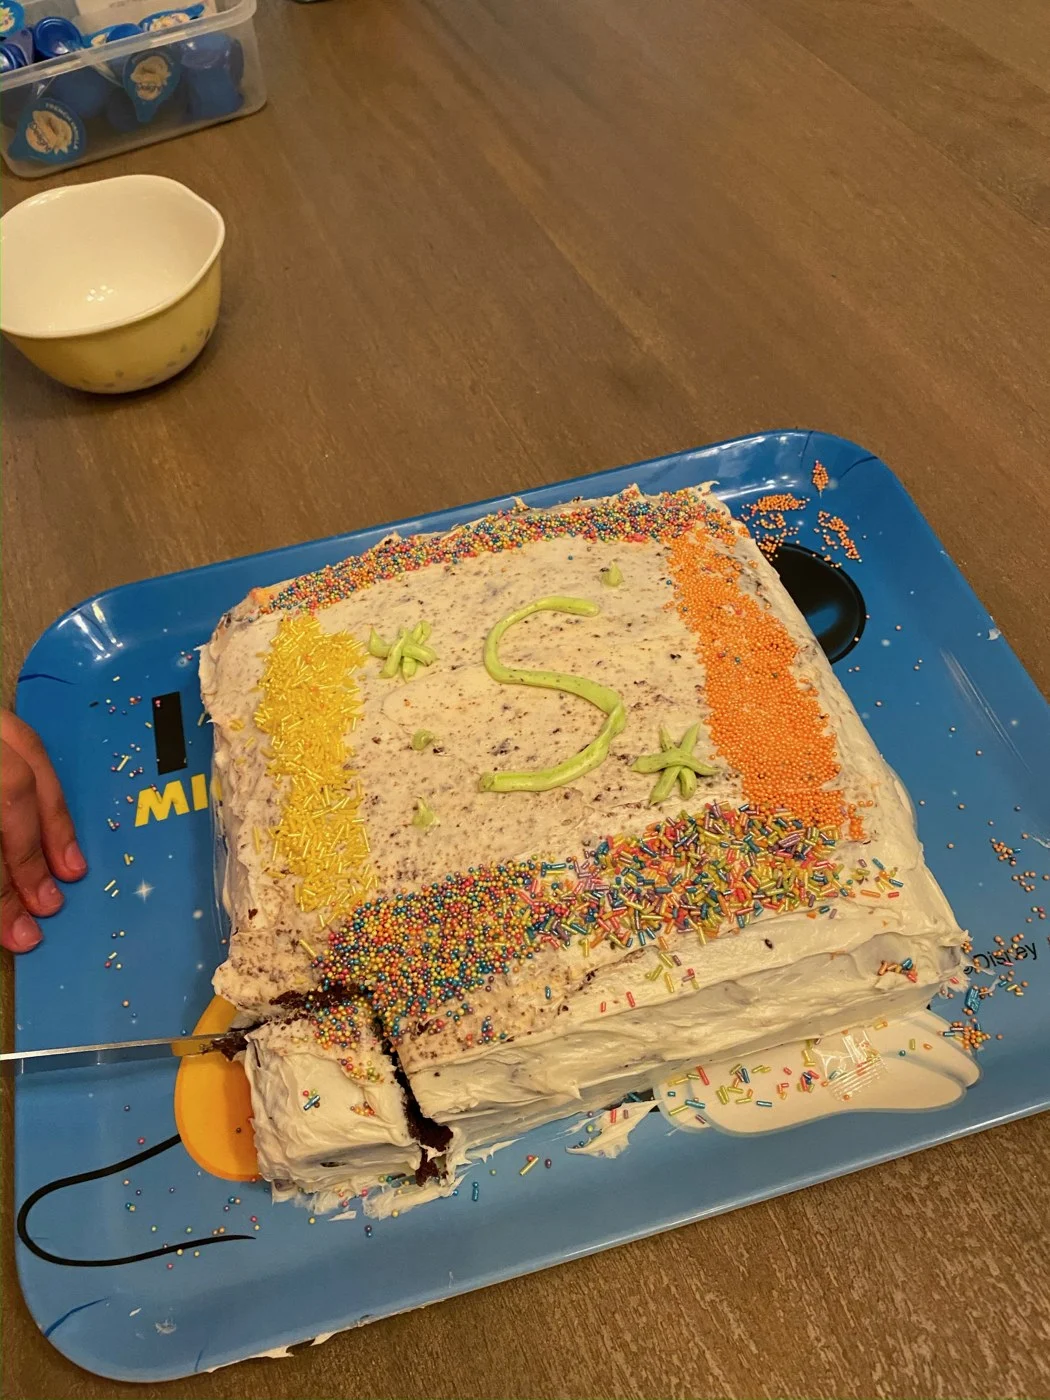 2 hr 55 min
Celebration Sprinkle Sheet Cake
A buttery chocolate sheet cake gets a vanilla frosting blanket and a bright sprinkle border.
Make this recipe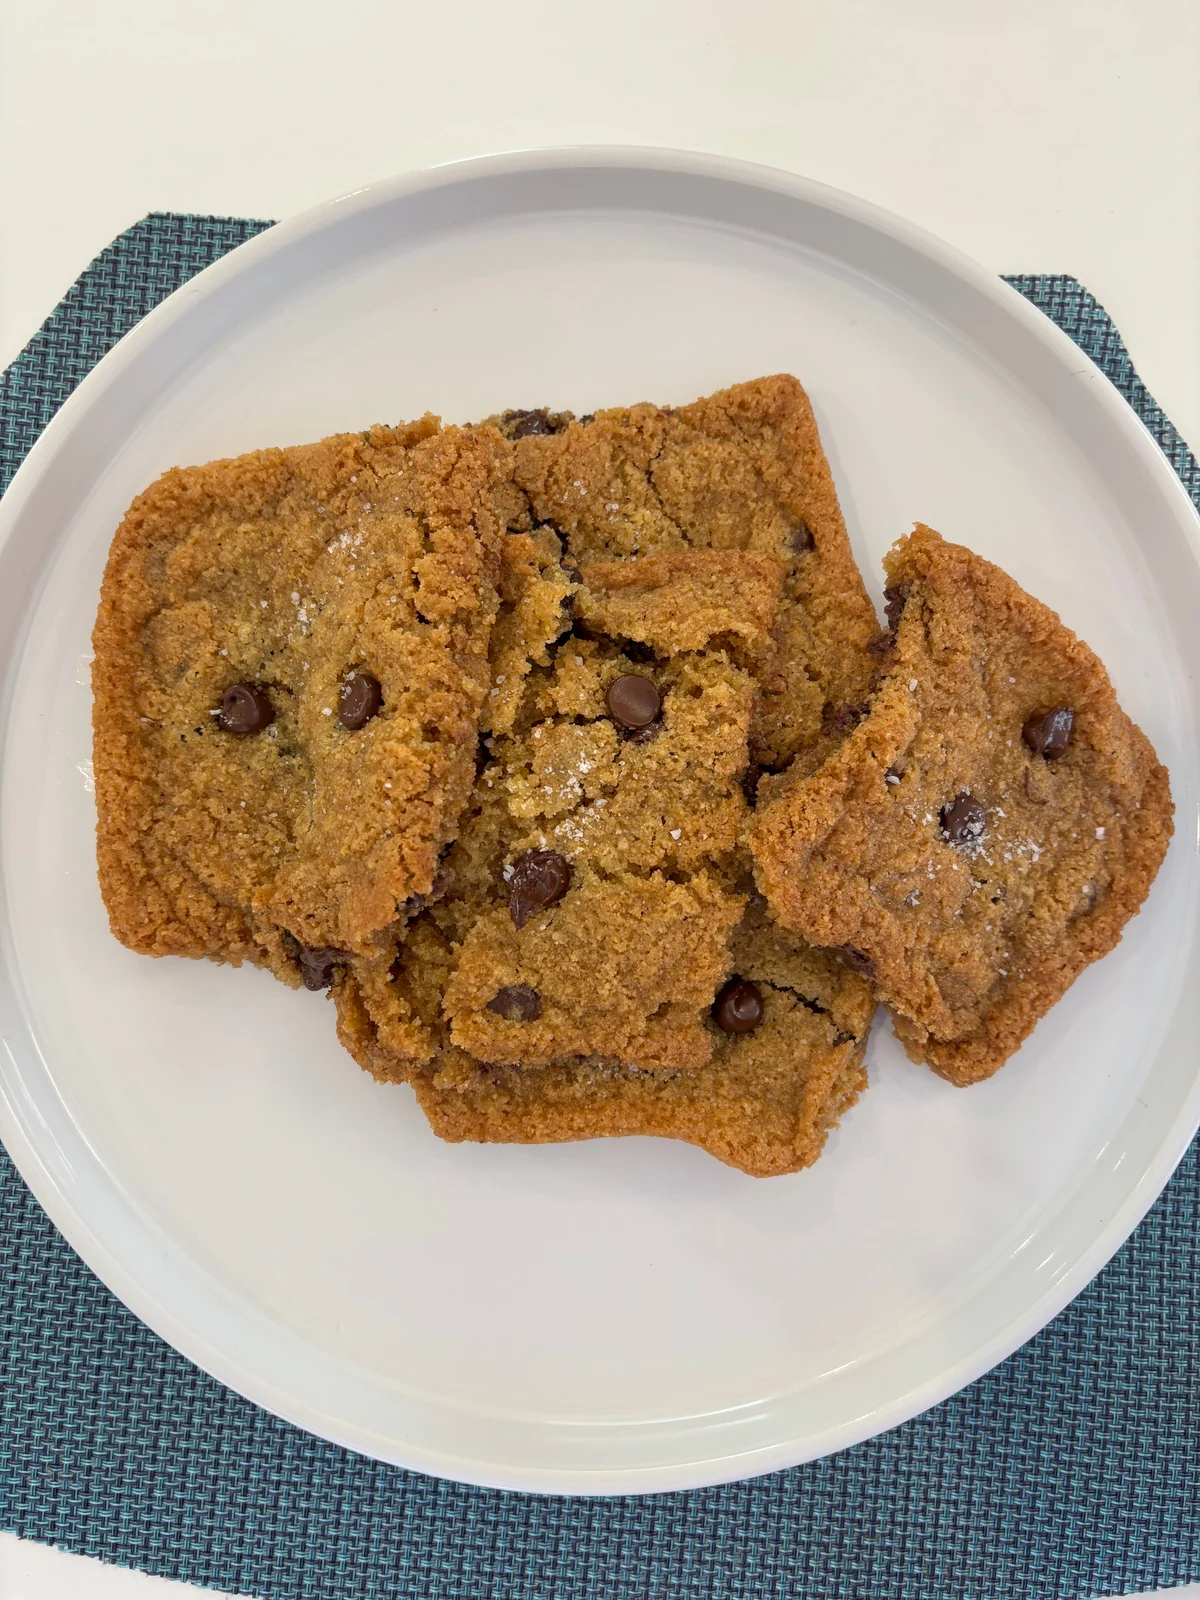 1 hr 35 min
Thin Chocolate Chip Cookie Bars
A shallow sheet of chocolate-chip cookie dough bakes into golden, crisp-edged pieces. One pan, plenty of shareable corners.
Make this recipe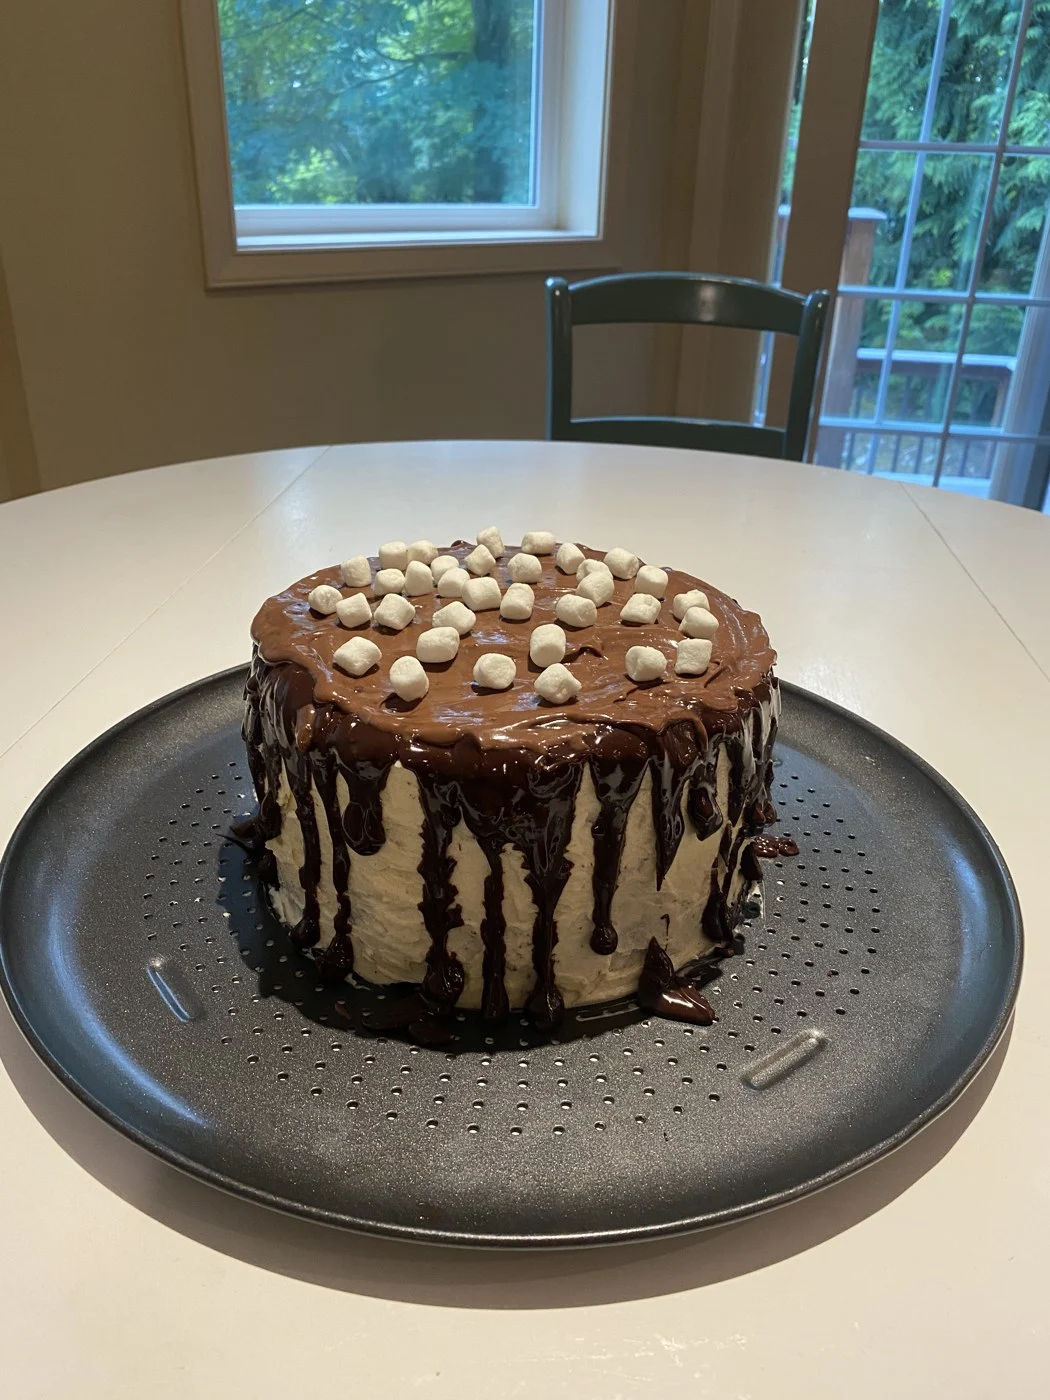 4 hr 10 min
Red Velvet & Chocolate Marshmallow Drip Cake
One red velvet-style layer and one chocolate layer meet vanilla frosting, glossy ganache drips and a marshmallow finish.
Make this recipe